How to Sharpen a Kitchen Knife with a Tormek T-2 Pro Machine?

Sharpening a kitchen knife is an essential skill for any cooking enthusiast, and using a specialized machine like the Tormek T-2 Pro can greatly simplify this process. This article will guide you through the steps to effectively sharpen your kitchen knives with this machine, ensuring a sharp, precise cut every time.
Why Choose the Tormek T-2 Pro?
The Tormek T-2 Pro is specifically designed for kitchen knives. It is equipped with a 200 mm diamond composite wheel that ensures fast, efficient sharpening while minimizing metal wear. Additionally, this machine features an accurate angle guide, which is essential for achieving consistent and optimal sharpening.
Step 1: Preparing the Machine
Before starting the sharpening process, ensure that the Tormek T-2 Pro is properly installed and stable on a flat surface. Check that the wheel and angle guide are clean and in good condition.
- Fill the water reservoir: The Tormek T-2 Pro uses a water cooling system to prevent the blade from overheating and keeps the steel at an optimal temperature during sharpening. Fill the water reservoir until the wheel is partially submerged.
- Select the correct angle: Depending on the type of knife, you will need to adjust the angle guide. For most kitchen knives, an angle of 15 to 20 degrees is recommended. Position the angle guide accordingly.
Step 2: Sharpening the Blade
Now that your machine is ready, it’s time to start sharpening.
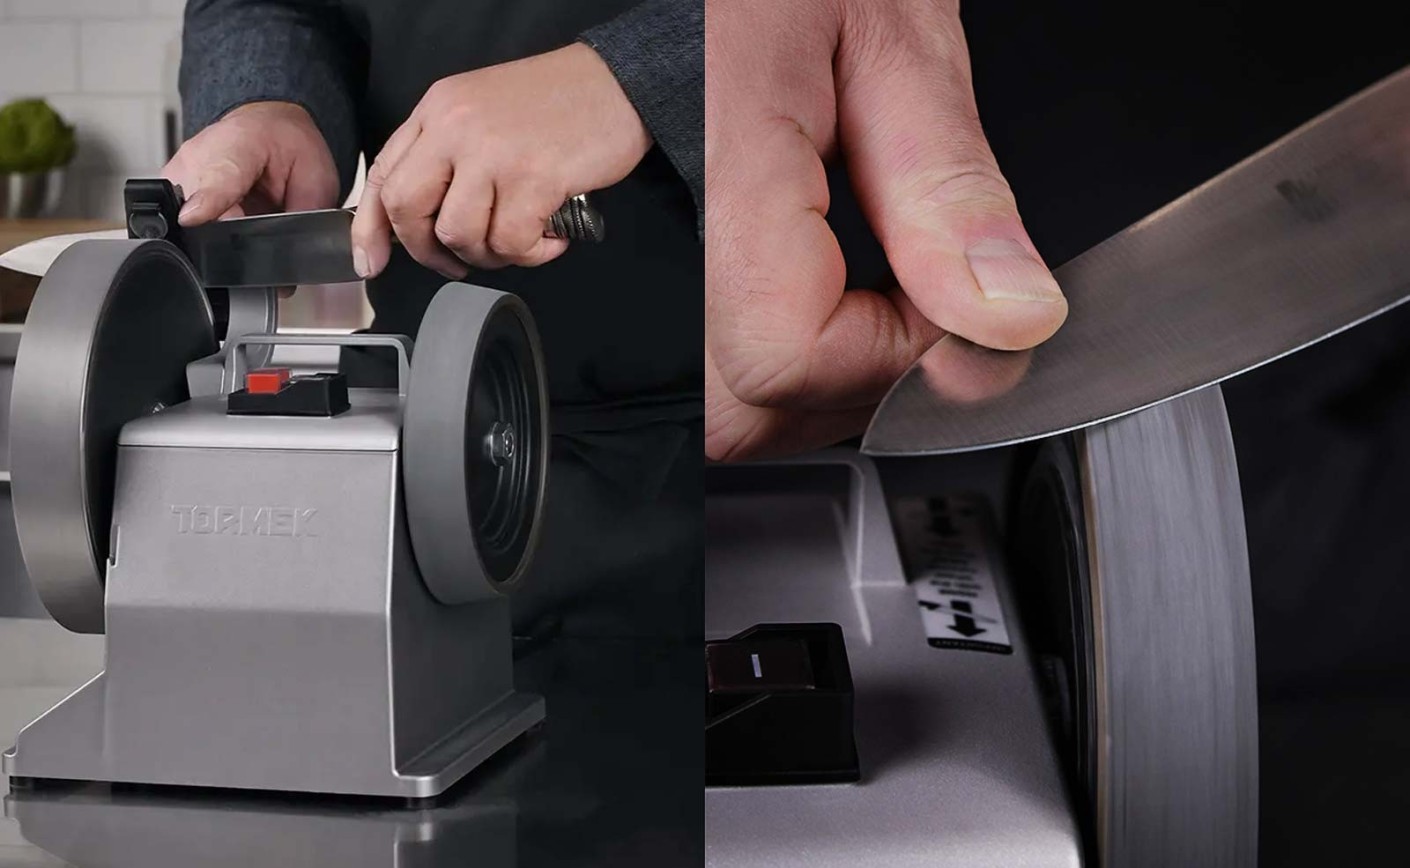
- Position the blade: Place the knife on the angle guide with the blade slightly tilted. The tip of the knife should point towards the wheel, and the back of the blade should be in contact with the guide.
- Start sharpening: Turn on the machine and begin moving the blade along the wheel. Apply light, consistent pressure while maintaining a smooth motion from the base to the tip of the knife. Make several passes, ensuring the entire length of the blade is covered.
- Flip the blade: Once one side is sharpened, flip the knife over and repeat the process on the other side. Ensure the angle remains constant for even sharpening.
Step 3: Polishing and Finishing
After sharpening the blade, it’s essential to polish it to remove burrs and achieve a clean cut.
- Use the polishing wheel: If your Tormek T-2 Pro is equipped with a polishing wheel, use it to polish each side of the blade. This helps refine the edge and gives it a mirror finish.
- Check the sharpness: Test the knife by cutting a piece of paper or a vegetable. If the cut is clean, the sharpening is successful. If not, repeat the sharpening steps until the desired result is achieved.
Step 4: Maintaining the Machine
To prolong the life of your Tormek T-2 Pro and maintain its performance, regular maintenance is necessary.
- Clean the wheel: After each use, clean the wheel to remove metal and water residues. Use a soft brush and clear water.
- Empty the water reservoir: Do not let water sit in the reservoir after sharpening. Empty it and allow the machine to dry completely before storing.
- Inspect components: Regularly inspect the machine to ensure all parts are in good condition. Replace worn parts as needed.
Conclusion
Sharpening a kitchen knife with a Tormek T-2 Pro is an efficient and precise way to keep your blades in top condition. By following these steps, you can not only extend the life of your knives but also improve the quality of your culinary preparations. Remember, regular maintenance of the machine is also crucial to ensure optimal results with each use.
With a bit of practice, you’ll become a sharpening expert and can enjoy a perfect cut at every meal.


Leave a Reply Cancel Reply